Stains on lips are rarely a problem you can solve by adding another coat of lipstick. They usually show up after a long flight, a rushed airport coffee, a strongly pigmented lip tint, or several hours in wind and dry air. The result can be an uneven red, brown, or purple cast that looks different from the color you applied. If you have a meeting the next morning and only a hotel bathroom, a drugstore, and ten minutes, the goal is not a miracle fix. It is a calm removal routine followed by low-risk moisture and a more predictable lip product.
Why stains on lips happen
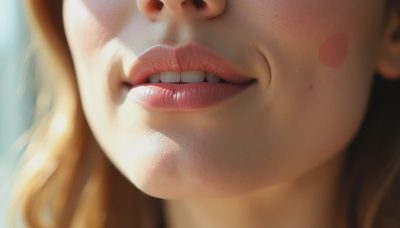
Lip color can cling unevenly because the lips have a thin surface barrier and little natural oil compared with facial skin. Matte liquid lipstick, lip stains, berry shades, and long-wear formulas leave more pigment behind than a traditional balm. If one area is flaky or dehydrated, pigment settles into that texture and creates a patchy outline. Repeated rubbing then makes the color look more irregular.
Weather changes can make the problem more obvious. Cold air and airplane cabins pull moisture from the skin, while hot, humid conditions can cause balm and color to move around the mouth. Sun exposure can also deepen the appearance of discoloration over time. A new toothpaste, fragranced lip product, or plumping gloss can cause irritation for some people, especially when the same product is applied repeatedly during travel.
Start by identifying the finish and the condition of your lips. A flat tint on comfortable skin needs a different approach from stains on lips accompanied by cracking, burning, swelling, or persistent soreness. Do not scrub irritated skin simply because the color looks stubborn.

A ten-minute removal routine
First, soften the pigment. Hold a warm, damp washcloth against the lips for 20 to 30 seconds. Do not use hot water; warmth should loosen residue without making the skin feel raw. Next, apply an oil-based cleanser, plain petrolatum, or a fragrance-free cleansing balm. A small amount is enough. Let it sit for about one minute, then wipe gently in one direction with a soft cotton pad.
If stains on lips remain, repeat the oil step once rather than reaching for an abrasive scrub. Micellar water can work on lighter formulas, but waterproof or highly pigmented color usually responds better to an oil-based product. Avoid rubbing alcohol, lemon juice, baking soda, and rough sugar scrubs. These shortcuts can increase dryness and leave the surface more uncomfortable, even if they remove some color quickly.
After removal, rinse away cleanser residue and apply a plain occlusive balm. Look for petrolatum, mineral oil, dimethicone, or shea butter if those ingredients work well for you. Give the balm five minutes before applying anything else. In an airport or hotel drugstore, a simple unscented ointment is often more useful than an expensive treatment packed with fragrance, essential oils, or cooling ingredients.
Choosing color when your lips are already uneven
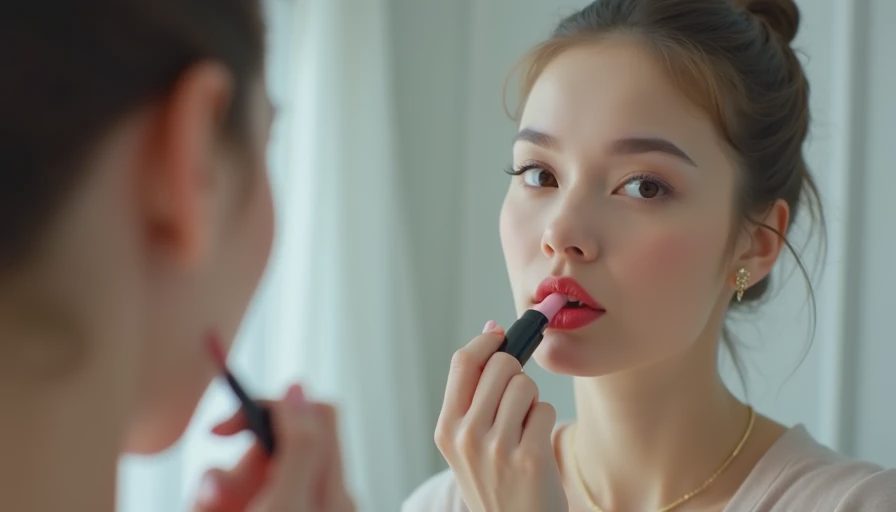
When stains on lips are still visible, choose a product that works with the remaining tone instead of trying to cover it with an extremely pale nude. A sheer rose, warm pink, muted brick, or soft brown can blend small variations more naturally. A creamy bullet lipstick is usually easier to control than a fast-drying liquid matte formula. Apply a thin layer, press the lips together, and add color only where coverage is needed.
For a business meeting, a tinted balm can be the safest carry-on choice because it fades gradually rather than leaving a sharp border. Brands such as Burt's Bees, Aquaphor, Maybelline, and e.l.f. are commonly found at large drugstores, but the specific shade matters more than the logo. Test the color on a clean fingertip or the inside of your wrist only as a rough guide; your lip tone can shift the final result.
If you need longer wear, use a lip pencil close to your natural lip color and fill in the entire lip lightly before adding lipstick. This creates a more even base and reduces the contrast as the top color fades. Avoid outlining only the edge when the center is already darker, because that can make the unevenness more noticeable.
Preventing repeat problems in different climates
For cold or dry destinations, pack a plain balm and apply it before the lips feel tight. Use a thin layer under color rather than a thick, slippery coating that causes lipstick to slide. At night, remove all pigment before adding another layer of ointment. A small tube is easier to carry than a pot and avoids dipping fingers into the product repeatedly.
In humid heat, choose a lightweight balm and blot excess moisture before applying color. Very glossy formulas can migrate into the lines around the mouth, especially during a long outdoor day. A soft-matte or satin formula, applied in one thin layer, generally gives more control. Reapply sunscreen around the mouth carefully, but remember that ordinary facial sunscreen should not automatically be used on the lips unless the label says it is intended for that area. A lip product with SPF can help when you will be outside for hours.
Travel also makes patch testing difficult, so avoid introducing three new lip products at once. If a new tint causes burning or swelling, remove it and stop using it. Take a photo of the ingredient list if the reaction returns later; that record is more useful than guessing which product caused the issue.
The compact travel kit that actually helps
A practical kit for stains on lips can fit in a small zip pouch. Pack one fragrance-free balm or ointment, a mini cleansing balm or oil cleanser, a few soft cotton pads, one neutral lip pencil, and one forgiving satin lipstick or tinted balm. Add a clean washcloth if you are staying somewhere with rough hotel towels. This selection gives you a removal option, a barrier product, and color that can be adjusted without carrying a full makeup bag.
Before a trip, test the complete routine after a normal workday. Apply the color, eat a meal, remove it, and check your lips an hour later. Note whether pigment gathers at the corners, whether the balm causes slipping, and whether the color leaves a hard ring. Pack the combination that failed gently at home rather than trusting a product because its packaging promises all-day wear.
A useful reference card should record the climate, skin condition, product finish, removal method, and wear time. “It lasted all day” is not enough information. “Dry airplane cabin, comfortable lips, satin lipstick, six hours, removed with cleansing balm” tells you whether the same plan fits your next trip.
When to stop treating it as makeup residue
Most ordinary stains on lips fade after gentle cleansing and a few days without the triggering product. Persistent darkening, repeated cracking, bleeding, significant pain, blisters, swelling, or a spot that changes should not be covered indefinitely with makeup. Contact a qualified health professional for advice, particularly if the issue continues after you stop a suspected irritant.
The reliable travel strategy is simple: soften, dissolve, wipe gently, restore moisture, and choose a forgiving color. That sequence is faster and kinder than aggressive exfoliation. Pack the routine before you need it, record what failed in each climate, and you will have a practical answer the next time stains on lips appear before an important morning.


No notes yet — write the first one.