You board a red-eye at 10 PM. You land at 6 AM. Your presentation is at 8:30 AM. Your skin is already dry—not just dry, but the kind of dry that cracks when you smile, that flakes under makeup, that feels tight after washing with water. Now you are about to spend eight hours in a metal tube at 35,000 feet, where the cabin humidity drops to 10–20%, the air is recirculated, and the person next to you is coughing. By the time you land, your skin will be dehydrated, your under-eyes will be puffy and dark, and you will have approximately 90 minutes to look like a person who slept well and has their life together.
This is not a packing list. This is an order of operations—a sequence of steps that must be followed in the right order to prevent a skin emergency and build a presentable face under the worst possible conditions.
Why an Overnight Flight Is the Worst-Case Scenario for Extremely Dry Skin
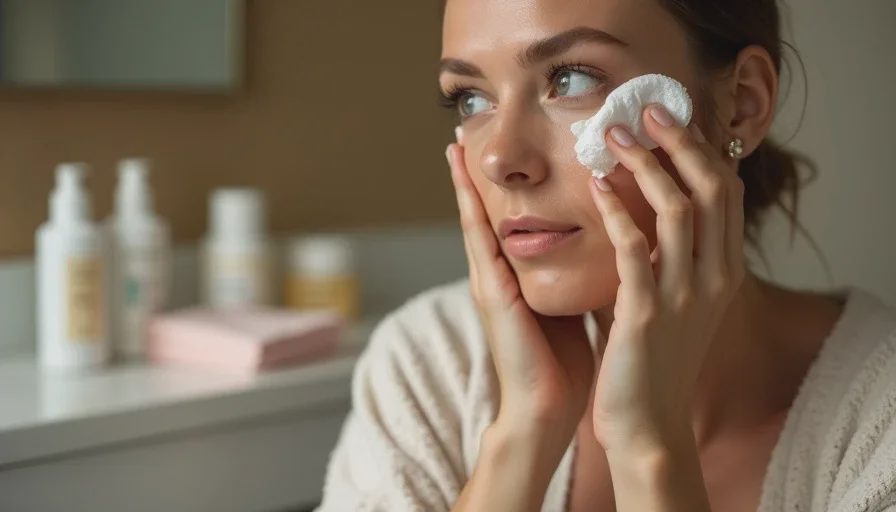
Airplane cabins are hostile to dry skin for three reasons.
1. Humidity drops to desert levels. At cruising altitude, cabin humidity is typically 10–20%. For context, the Sahara Desert averages 25%. The air is so dry that it pulls moisture from any surface it touches—your skin, your eyes, your lips, your nasal passages. Transepidermal water loss (TEWL) increases significantly during flight.
2. The air is recirculated. About 50% of cabin air is recirculated through HEPA filters. While filters remove bacteria and viruses, they do not add moisture. The air that comes out is dry, and it keeps circulating, constantly pulling moisture from your skin.
3. You are not drinking enough water. Alcohol and caffeine are diuretics. The salty airport food and the tiny cups of water do not compensate. By the time you land, you are mildly dehydrated, which shows on your skin as dullness, flaking, and increased fine lines.
The practical consequence: your skin will be significantly drier when you land than when you boarded. A routine that works at home will not work here. The order of operations matters because each step either protects the barrier or damages it further.
The Order of Operations: A Complete Timeline
Phase 1: Pre-Flight Prep (The Night Before and the Morning Of)
Night before the flight:
Exfoliate gently, but not the night before. If you exfoliate the same night you fly, you strip the barrier right before it needs to protect you. Exfoliate two nights before the flight. Use a mild AHA (like lactic acid) or a gentle enzyme powder. Do not scrub. Do not use a physical exfoliant.
Apply a thick barrier cream before bed. Look for ceramides, squalane, or shea butter. This gives your skin a reservoir of moisture to draw from during the flight.
Drink water. Not just during the flight—the day before. Hydration starts internally.
Morning of the flight:
Cleanse with a gentle, fragrance-free cleanser. Do not use hot water. Lukewarm only. Pat dry—do not rub.
Apply a hyaluronic acid serum to damp skin. This is critical. Hyaluronic acid binds to water. If you apply it to dry skin, it will pull moisture from deeper layers and actually make dryness worse. Apply it while your skin is still slightly wet from cleansing.
Wait 60 seconds, then apply a ceramide moisturizer. Press it in—do not just rub it on. Pressing helps it absorb and creates a smoother surface.
Apply a facial oil on top. This is the step most people skip. Oil creates an occlusive barrier that slows water loss. Jojoba, squalane, or rosehip oil work well. Apply 2–3 drops, pressed into the skin, not rubbed.
Apply SPF if you will be outside during the day. If you are flying at night, you can skip this step. If you are flying during the day, apply a mineral SPF (zinc oxide or titanium dioxide) which is less likely to irritate dry skin than chemical sunscreens.
Do not apply makeup. The cabin air will destroy it. You will land with foundation that has separated, settled into every flake, and cracked around the nose. Save the makeup for after you land.
At the airport:
Do not buy a new skincare product at the gate. Your skin is already stressed. Introducing a new product now is a risk you do not need to take.
Carry a hydrating facial mist and a lip balm in your personal item. You will use these during the flight.
Phase 2: In-Flight Maintenance (The Eight Hours)
The goal during the flight is not to look good. The goal is to prevent your skin from reaching a crisis point by the time you land.
Hour 0–1: Board and settle.
Wipe your face with a micellar water-soaked cotton pad. This removes any lingering oil, dirt, or sweat from the airport. Do not use a cleansing wipe with fragrance or alcohol—those will strip the skin further.
Apply a hydrating sheet mask. This is not a luxury. It is a barrier-protection step. A sheet mask delivers a concentrated dose of humectants and emollients that your skin can absorb over 15–20 minutes. Look for masks with hyaluronic acid, glycerin, and ceramides. Avoid masks with fragrance or essential oils.
Apply eye patches. The under-eye area is the thinnest skin on the face and the first to show dehydration. Hydrogel eye patches with hyaluronic acid or caffeine help reduce puffiness and deliver moisture.
Apply a thick layer of lip balm. Lips crack faster than any other part of the face. Choose a balm with lanolin, shea butter, or petroleum jelly. Avoid mint or menthol—they feel cooling but are actually irritants.
Hour 1–4: Sleep if you can.
Do not drink alcohol. It dehydrates you further. If you want a drink, choose water or herbal tea.
Avoid caffeine. It is a diuretic. If you must have coffee, drink an extra glass of water for each cup.
Use a neck pillow and an eye mask. Rubbing your face against a rough airplane pillow can cause micro-irritation. An eye mask blocks light and reduces the urge to rub your eyes.
Hour 4–7: Reapply hydration.
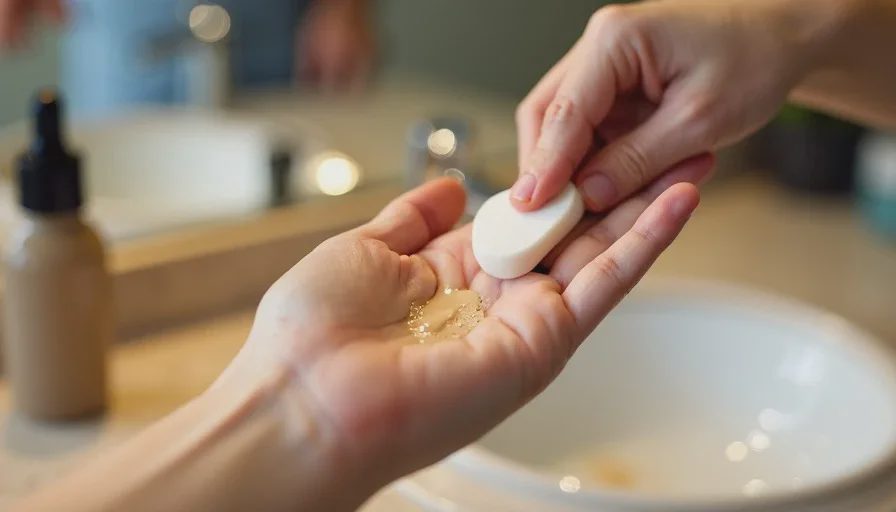
Mist your face with a hydrating facial mist. Do not use a mattifying or setting spray. You want moisture, not powder. Mist, let it dry naturally, then apply another layer of moisturizer or facial oil.
Reapply lip balm. Do not lick your lips. Saliva evaporates and dries them further.
Drink water. Aim for at least 8 ounces per hour of flight. If you are not drinking, you are dehydrating.
Hour 7–8: Prepare for landing.
Do not apply makeup yet. You still have to get through the airport, baggage claim, and the taxi. The air outside the plane is not much better than the air inside.
Apply a final layer of barrier cream. This will protect your skin during the transition from the dry plane to the possibly humid or possibly dry outdoor air.
Use lubricating eye drops. Dry cabin air dries out your eyes. Red, watery eyes will make your makeup run and make you look exhausted. Use preservative-free drops.
Phase 3: Post-Flight Rescue (The 90 Minutes Before the Presentation)
You have landed. You have 90 minutes. You need to turn a dehydrated, puffy, tired face into a presentable, awake, professional face. This is the order of operations.
Step 1: Cleanse gently. (5 minutes)
Use micellar water on a cotton pad. Do not use a foaming cleanser—it will strip the barrier. Do not use hot water. Do not scrub. Gently wipe away the layer of oil and moisturizer you applied on the plane. If you have a gentle cream cleanser, use that instead.
Pat dry with a soft tissue. Do not rub. Do not use a hotel washcloth—they are often rough and can irritate dry skin.
Step 2: Rehydrate. (10 minutes)
Apply a hyaluronic acid serum to damp skin. Your skin is still slightly damp from cleansing. This is the optimal moment. Press the serum in with your palms.
Apply a ceramide moisturizer. Press, do not rub. Let it absorb for 60 seconds.
Apply a facial oil. 2–3 drops, pressed into the driest areas—cheeks, jawline, around the nose. Do not apply oil to the T-zone if you are oily there. Dry skin is often combination.
Apply eye cream. A thick, fragrance-free eye cream with ceramides or peptides. Tap it in with your ring finger. Do not rub.
Wait 5 minutes. This is the step everyone skips. If you apply makeup immediately after skincare, the products will pill, separate, and crack. You need to let the layers absorb. Five minutes is the minimum. Ten is better.
Step 3: Makeup application—the order matters. (15 minutes)
This is the sequence for extremely dry skin. Do not deviate.
Primer: hydrating, not mattifying. Apply a hydrating primer only where you need it—the cheeks, the jawline, the areas that tend to flake. Do not apply primer to the T-zone if you are oily there. Let it set for 60 seconds.
Concealer: only where needed. Tap a hydrating, fragrance-free concealer under the eyes, around the nose, and on any blemish. Use your ring finger. Tap, do not swipe.
Foundation: mix with serum. This is the critical step for extremely dry skin. Mix one drop of hyaluronic acid serum or facial oil into your foundation on the back of your hand. This thins the foundation, adds moisture, and makes it glide over dry patches without gripping. Apply in thin layers with a damp sponge. Do not use a brush—it will lift flakes. Do not use your fingers—they deposit oil that can cause uneven application.
Cream blush: cheeks and lips. Tap a cream blush in a warm nude or muted rose onto the apples of your cheeks. Blend upward. Tap whatever remains onto your lips. Do not use powder blush—it will sit on top of dry patches and emphasize them.
Brow pencil: short strokes. Fill gaps, do not outline. Choose a shade one step cooler than your hair color.
Tubing mascara: one thin coat. Tubing mascara resists smudging and does not flake. One coat is enough. Do not apply a second coat—it increases the risk of flaking on dry lashes.
Tinted lip balm: hydrating, not matte. Choose a balm with SPF and a hint of color. Avoid matte lipsticks—they crack and feather on dry lips.
Setting spray: hydrating, not mattifying. Spray a hydrating facial mist over the finished face. Hold the bottle 8–10 inches away and mist in a Z-pattern. Do not spray so much that the skin looks wet. Let it dry naturally. Do not blot.
Step 4: Final touches. (5 minutes)
Press a tissue against the T-zone. This removes excess product without removing pigment. Do not rub.
Apply more lip balm. Dry lips will crack during the presentation if you do not keep them hydrated.
Check your teeth. Dry mouth is common after a flight. Drink a glass of water before you go in.
Do not add powder. Powder is the enemy of dry skin. If you are shiny, blot with a tissue. Do not powder.

No notes yet — write the first one.