The best eyelash curler is not automatically the most expensive one or the tool with the most dramatic before-and-after photos. When you are rushing through a hotel bathroom, working with limited luggage, or preparing for a meeting after landing, the right curler needs to fit your eye shape, grip comfortably, and create lift without pinching. I look at curl longevity, portability, replacement pads, and failure conditions before calling any tool a reliable recommendation.
What makes an eyelash curler worth packing?
A useful curler should open wide enough to catch lashes across the eye without forcing the handle into your cheek. The curve should sit close to the lash line, but it should not press painfully against the eyelid. This is why the best eyelash curler for one person can be awkward for another. Rounder eyes often work well with a deeper curve, while flatter or more hooded eyelids may prefer a shallower, wider frame.
The pad matters as much as the metal frame. A soft silicone pad usually feels less harsh than a hard rubber insert, but softness does not guarantee a better curl. If the pad is too thick, it can prevent you from reaching the base of the lashes. If it is too thin or cracked, the clamp can tug, crease, or catch individual hairs. Look for a replacement pad that is easy to find rather than treating the tool as disposable.
Price is not a perfect quality test. A drugstore model around $6 to $12 can work better for your eye shape than a luxury tool costing $25 or more. Tweezerman, Shiseido, Revlon, e.l.f., and Kevyn Aucoin are commonly discussed because their designs cover different curves and budgets. The best eyelash curler is the one you can use consistently without rushing the final squeeze.
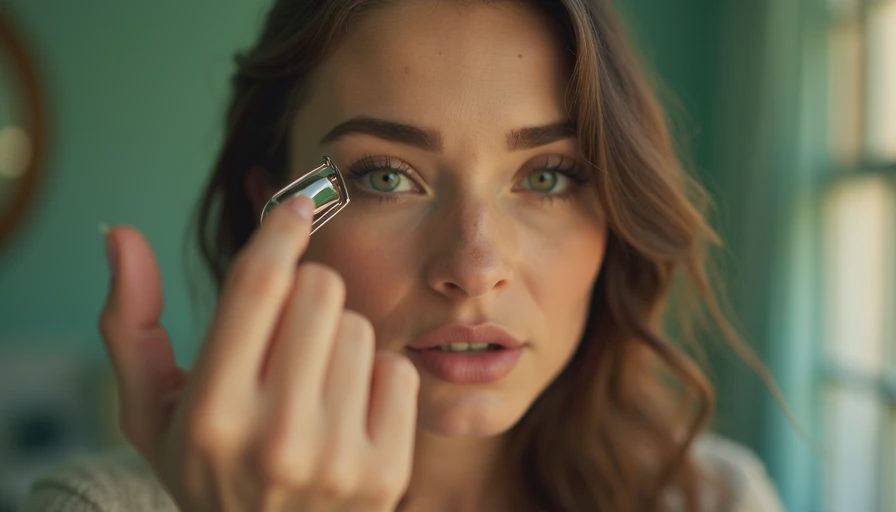
Eye shape, lash length, and the travel test
Test the tool with a clean, dry face before a trip. Place the open curler at the lash roots and check whether the frame touches the lid evenly from inner to outer corner. If the center clamps but the corners remain untouched, the curve may be too deep or too narrow. If the outer edge presses into your skin, try a wider, flatter design.
Short lashes need a curler that can reach close to the roots without catching the eyelid. Long, straight lashes may need a wider opening and a firm but controlled clamp. Sparse lashes can be especially frustrating because a tool that misses two or three hairs changes the visible result. Move the curler slightly toward the inner and outer corners instead of pressing harder in the center.
For a carry-on, choose a compact metal design with a protective pouch if available. Skip oversized heated devices when your makeup kit is already crowded. A standard mechanical curler does not need a charger, takes almost no room, and can be replaced quickly at a general beauty retailer. Before leaving, use the best eyelash curler candidate for several mornings so you know whether it creates a clean bend or a sharp right angle.
How to curl without pinching or breaking lashes
Start with bare, dry lashes. Curling after mascara can make lashes stick to the pad and pull when the tool opens. Hold the curler at the base for about five seconds using gentle pressure, then release and repeat once through the middle of the lashes. Do not pump rapidly at the roots; that can create an uneven crease instead of a soft curve.
The best eyelash curler technique is a sequence, not a single forceful squeeze. Keep your gaze forward, relax the eyelid, and use your other hand to lift the brow slightly if the skin folds over the lash line. For a natural shape, press lightly at the base, more gently in the middle, and barely at the tips. This creates a rounded lift that usually looks better under mascara than a sharp bend.
Clean the pad after use with a dry cotton swab or a small amount of gentle cleanser on a cotton round, then let it dry fully. Replace the pad when it becomes flattened, torn, sticky, or visibly stained. If your lashes are already brittle, stop when the tool catches or pulls. A pretty curl is not worth losing hairs or irritating the eyelid.
Humidity, cold air, and long meeting days
Weather changes the result. In humid destinations, lashes can drop soon after curling, especially if mascara is wet or overly flexible. Curl in a cool, dry room, wait briefly after applying the curl, and choose a mascara that sets rather than staying creamy. Waterproof formulas often hold shape better, but they can be harder to remove, so use a proper eye makeup remover instead of rubbing.
Dry winter air creates a different problem. The eyelid area may feel tight, and a metal tool can seem cold or uncomfortable. Warm the curler between your clean fingers for a moment, but never heat it with a lighter, hair dryer, or hot water near the eyes. A thin layer of eye-area moisturizer can help comfort, but keep oils away from the lash roots before curling because they can reduce grip.
For a long business day, curl one eye and compare it after ten minutes before doing both. If the lift collapses immediately, change the mascara or technique rather than squeezing harder. The best eyelash curler can start the lift, but formula, humidity, natural lash direction, and rubbing during the day decide how long it lasts.
Drugstore emergency versus planned purchase
If luggage disappears and you need a replacement before an early appointment, start with a full-size mechanical curler from a CVS, Walgreens, Target, or nearby beauty counter. Check that the pad is seated straight, the hinge opens smoothly, and the frame has no sharp edge. Avoid a package that looks bent or has a loose pad, even if it is the only inexpensive option on the shelf.
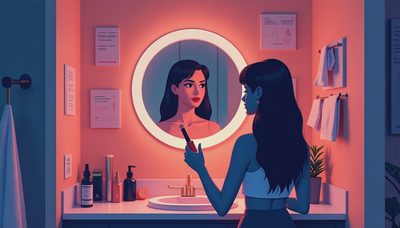
With time to shop, compare the inner curve against your eye in a mirror. Do not buy based only on a social media demonstration, because lighting and mascara can make almost any curl look impressive for a few seconds. Read whether replacement pads are sold separately. Spending $8 on a dependable drugstore tool with available pads can be more practical than carrying a $30 tool you are afraid to lose.
A traveler with sensitive eyes should also avoid sharing curlers. Wipe the handle and frame regularly, and do not use a tool that has visible residue or a damaged pad. If an eye becomes red, painful, swollen, or unusually watery, stop using eye makeup and seek appropriate medical advice rather than trying a different curler.
A simple packing reference card
Pack the curler in a small zip pouch with one spare pad, a clean cotton swab, mascara, and a gentle remover. Use the tool before foundation if you tend to sneeze or water after eye makeup. Keep it away from loose powder, since residue can make the hinge gritty and transfer into the eye area.
The best eyelash curler for a rushed morning should take less than a minute to use, work on clean lashes, and produce lift without repeated attempts. Test it under your real conditions: bright hotel lighting, a ten-minute schedule, dry airplane air, or a humid destination. Note exactly when it failed, whether the corners curled, and whether mascara helped or flattened the result.
If you are choosing today, prioritize a comfortable curve, a replaceable pad, and a smooth hinge over packaging or luxury branding. The best eyelash curler is a small tool, but the right match can make a three-product travel kit look intentional. Pack it only after you can use it confidently, and your morning routine will have one fewer problem waiting at the mirror.
No notes yet — write the first one.